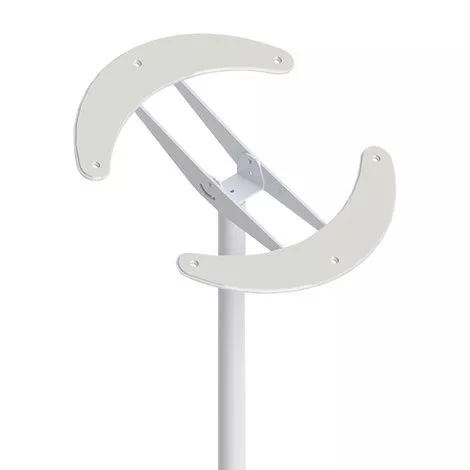
Angled Ceiling Top Plate Features
- Adjustable from 0° (Flat Ceiling) to 45° and must be secured to ceiling joists when installed
- Compatible with an existing SuperPole or SuperBar
- Also Available (Separately):
– HealthCraft SuperPole System
– HealthCraft SuperPole With SuperBar - Note:
– Not to be used with SuperTrapeze, SuperPole HD, or Ceiling Plate ExtenderÂ
– Image shown with SuperPole Which is not included
More On Angled Ceiling Plate
Angled Ceiling Plate Preparation:
- Unpack the angled ceiling plate and the pole assembly
- Remove the clevis pin from the pivoting bracket of the angled ceiling plate
- Determine the location of the pole. Secure the angled ceiling plate to the ceiling, making sure that it is fastened to the ceiling joists with appropriate wood screws
- Slide the top end of the pole onto the pivoting bracket. Align the locking pin holes of the pole and the bracket. Insert the clevis pin removed in step 1, and secure with nylon washer and hitch pin
- Place the circular base on the floor at the intended location of the SuperPole. Set the SuperPole to a true vertical position. This may be facilitated using a construction level, plumb bob, or by visually comparing the pole with other vertical line features in the room such as wall corners, etc
- Once the SuperPole is set to a true vertical position, lock the angle of the pivoting bracket on both sides with the supplied hardware
SuperPole Installation:
- While the cover sleeve is held up, insert a bar such as the shaft of a screwdriver, through the drive hole at the bottom of the extension screw. Turn the extension screw (clockwise)Â to make the extension screw contact the circular base. Align the stem of the extension screw with the hole in the circular plate.